So here are what I made:
Invitations (sort of) - to hand out to the kids to establish the theme.

I love to use Trader Joe's brown paper bags in ANY way I can!

I copied the idea from : http://media-cache-ak0.pinimg.com/236x/60/d6/96/60d69669c1b3ebed7befd682c28d93a1.jpg. I am unable to find the original post, only the link to the image from http://www.pinterest.com/explore/bag-lunches/.
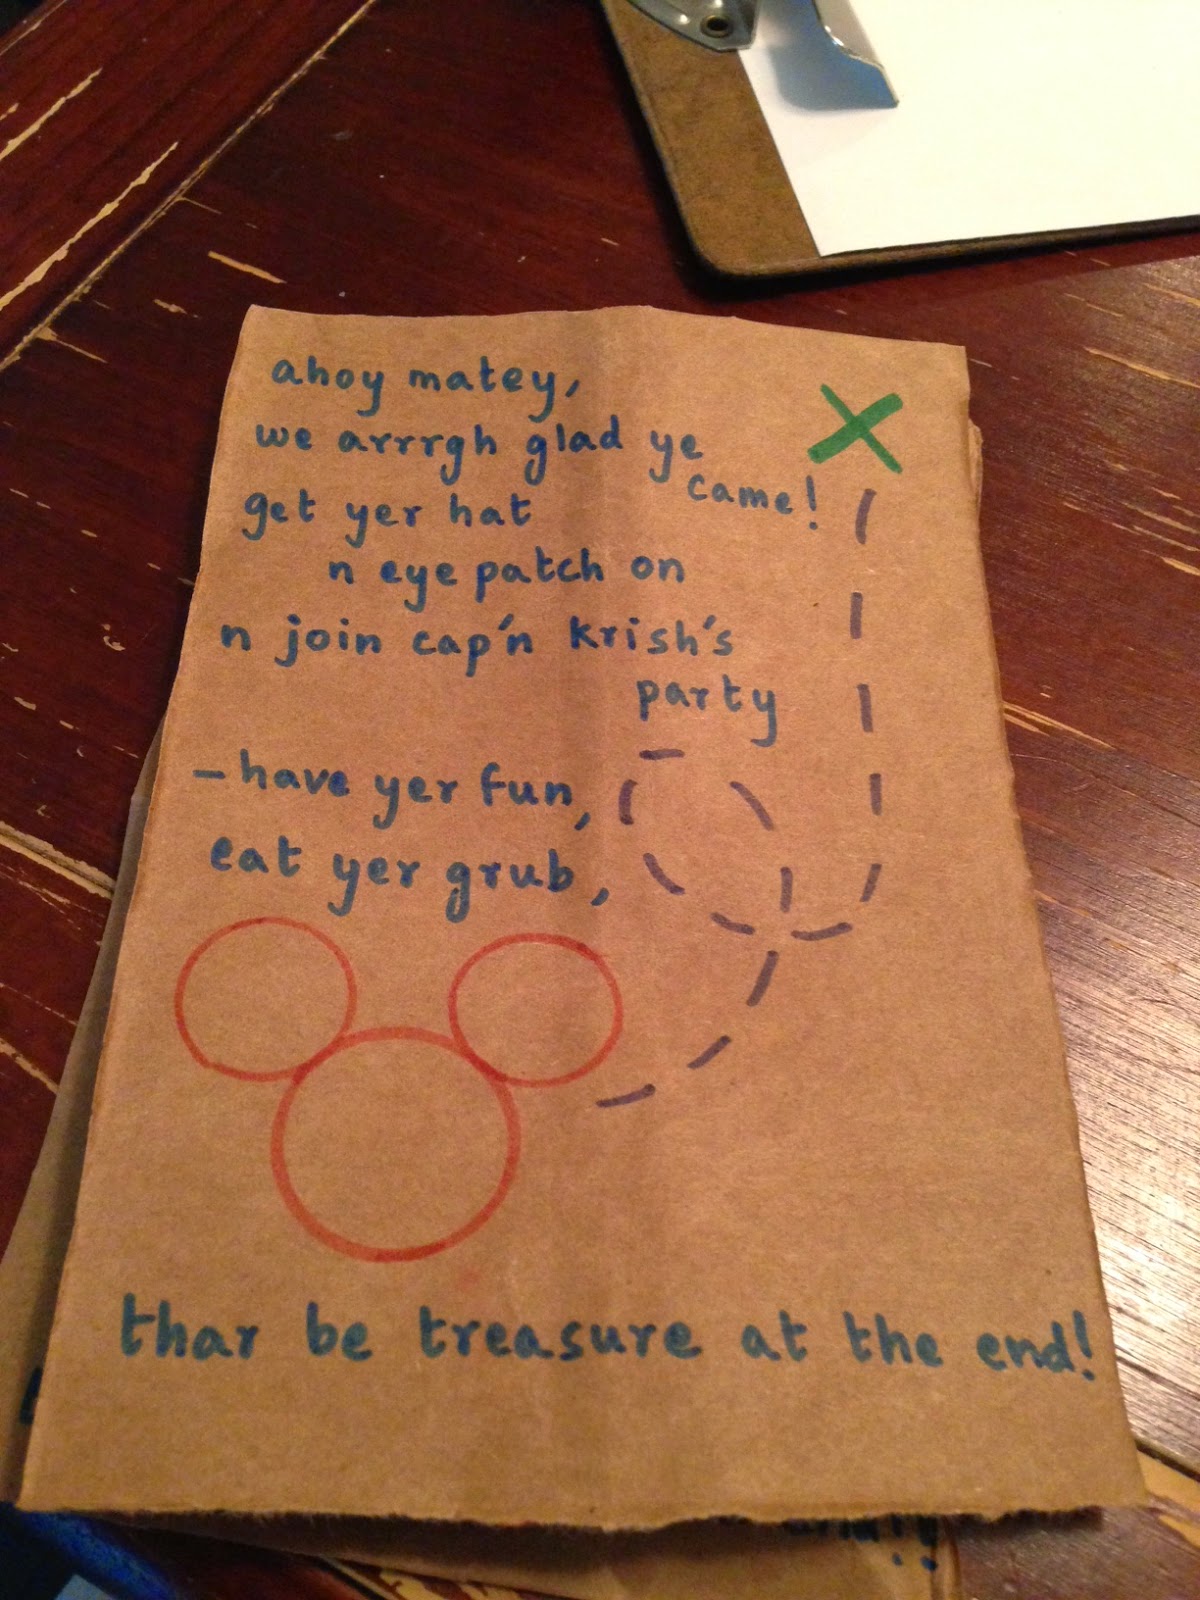
The words on it were made up with help from my brother and my husband.
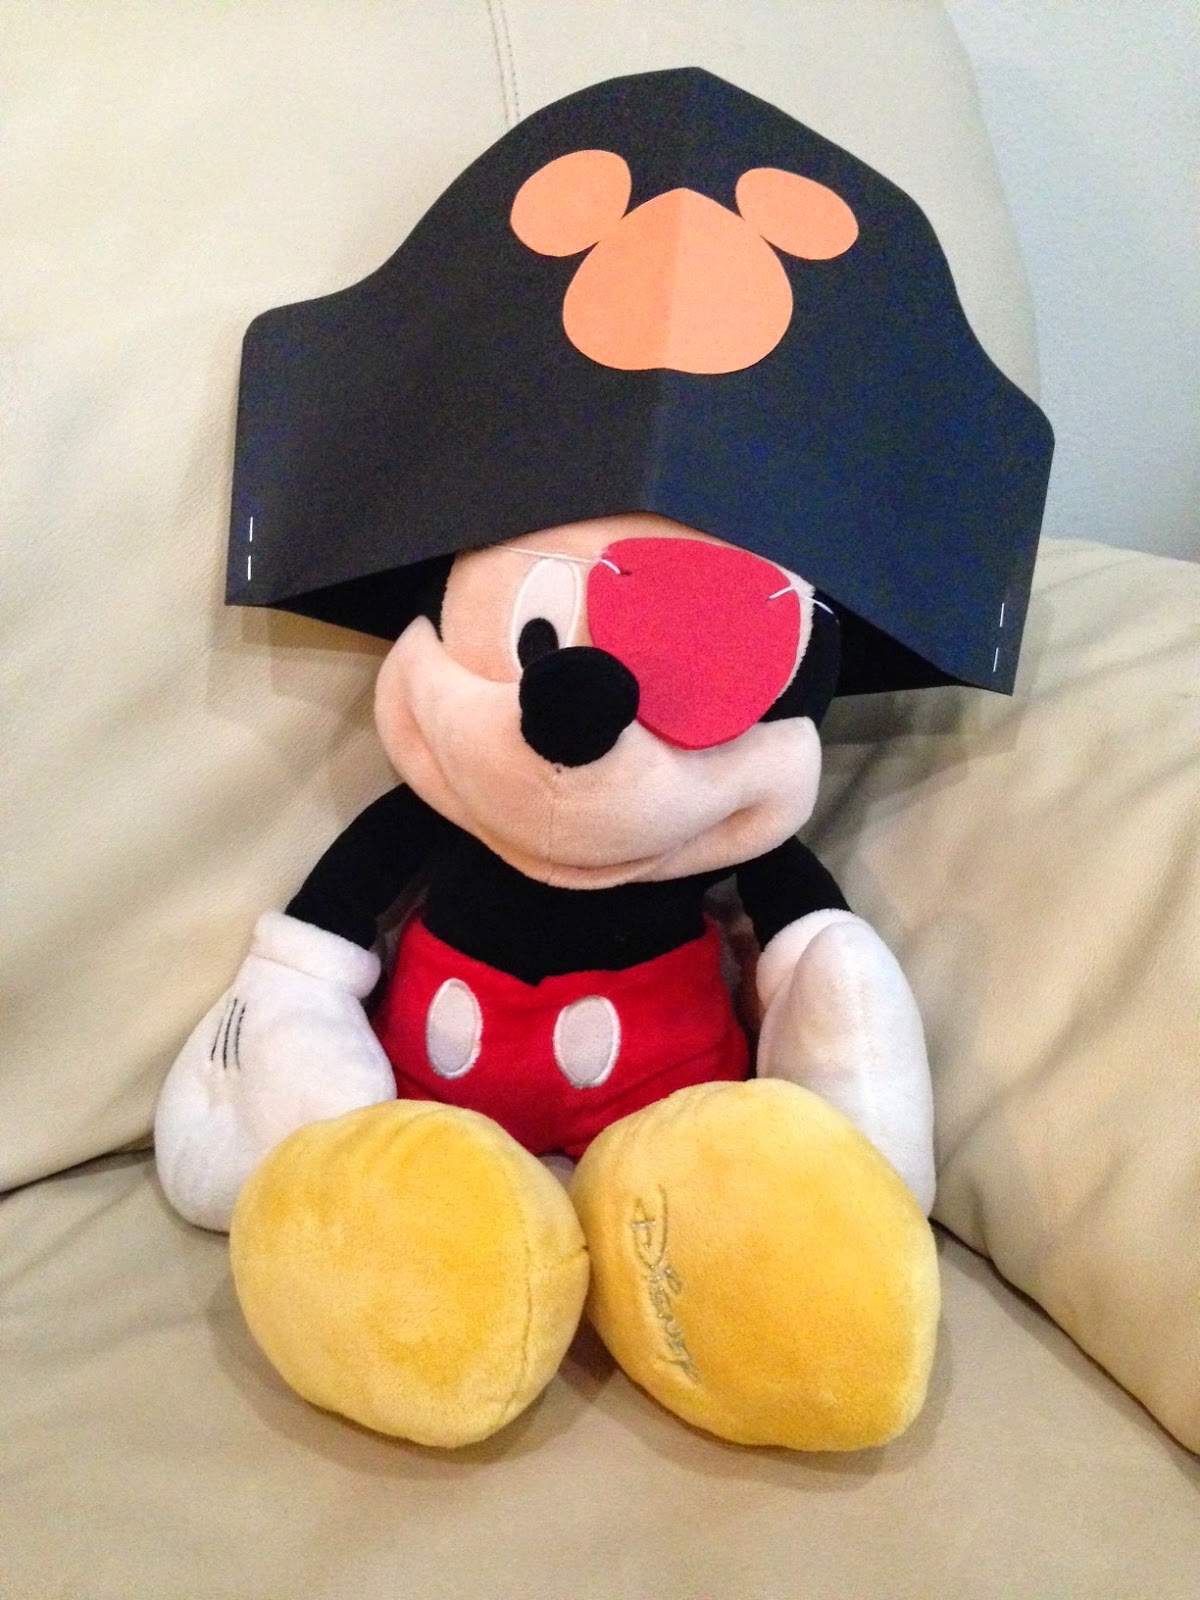
Pirate Hats and Eye Patches - for the kids to get in character.
For the hat, I used freehand drawing and made a template out of A4 paper. I sealed the sides and the top and found that it did not fit my son's head. I was wondering what size the paper should be for the hat to fit. I made another trial one with 9x12 inch card stock, stapled the sides and left the top open - this made the hat one-size-fit-all for adults and kids alike.

Here is how I constructed it. I took 9x12 inch card stock and folded 1 inch along the length.

I took 2 such sheets with folded edges facing outside and folded them in half lengthwise.


I placed the template on top for reference and cut out the curved shape.

I opened it up, stapled the sides at the bottom and left the rest open.

I cut out circles and glued them to the front of the hat to give it a Mickey Mouse touch.

And that's all there is to it! I realized you could make hats like this for any theme with just a little imagination.

For the eye patch, again I used freehand drawing to create a template and cut out the shape from a foam sheet. I made holes on the sides and threaded a 1 mm elastic chord through them and secured it with knots.

Here is how it looks!
Treasure Chests - for party favors.
Here is a find that I treasure:
http://www.hgtv.com/video/paper-treasure-box-video/index.html
I made treasure chests of smaller dimension and used rubber bands to keep the lids closed.


My son also wanted pirate ships, so I made Origami boats to serve as thank you notes.
http://www.origami-instructions.com/origami-boat.html

The Party Room
I got balloons and serve ware in black, red with/without white polka dots to represent the theme.