Tuesday, July 08, 2014

Mickey Mouse Pirate Party

Mickey Mouse Pirate was my son's choice of theme for his 4th birthday party.  Since his baby brother was expected to arrive three weeks before his birthday, we decided to have his party hosted at Pump It Up so that the organizing, setting up, cleaning up, catering and entertaining the kids would all be taken care of.  All that was left for me to do was somehow tie in the theme.

So here are what I made:

Invitations (sort of) - to hand out to the kids to establish the theme.


I love to use Trader Joe's brown paper bags in ANY way I can!


I copied the idea from : http://media-cache-ak0.pinimg.com/236x/60/d6/96/60d69669c1b3ebed7befd682c28d93a1.jpg. I am unable to find the original post, only the link to the image from http://www.pinterest.com/explore/bag-lunches/.
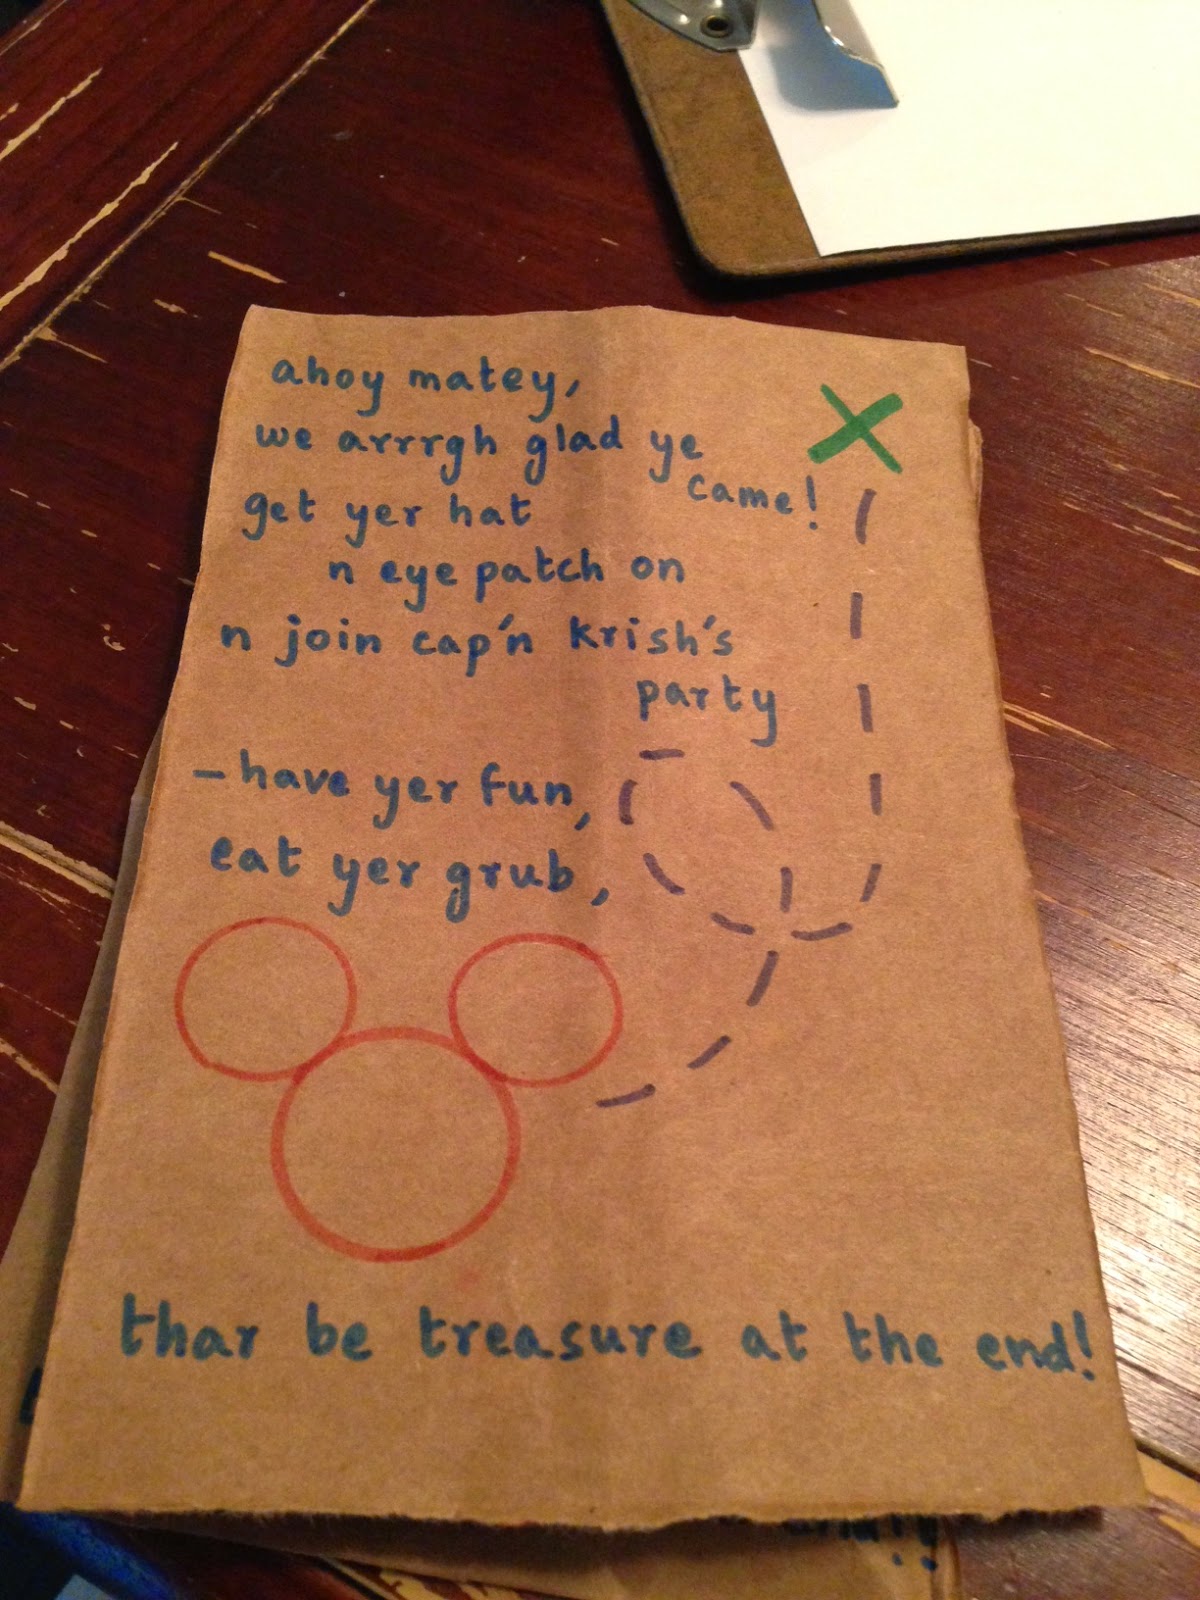


The words on it were made up with help from my brother and my husband.

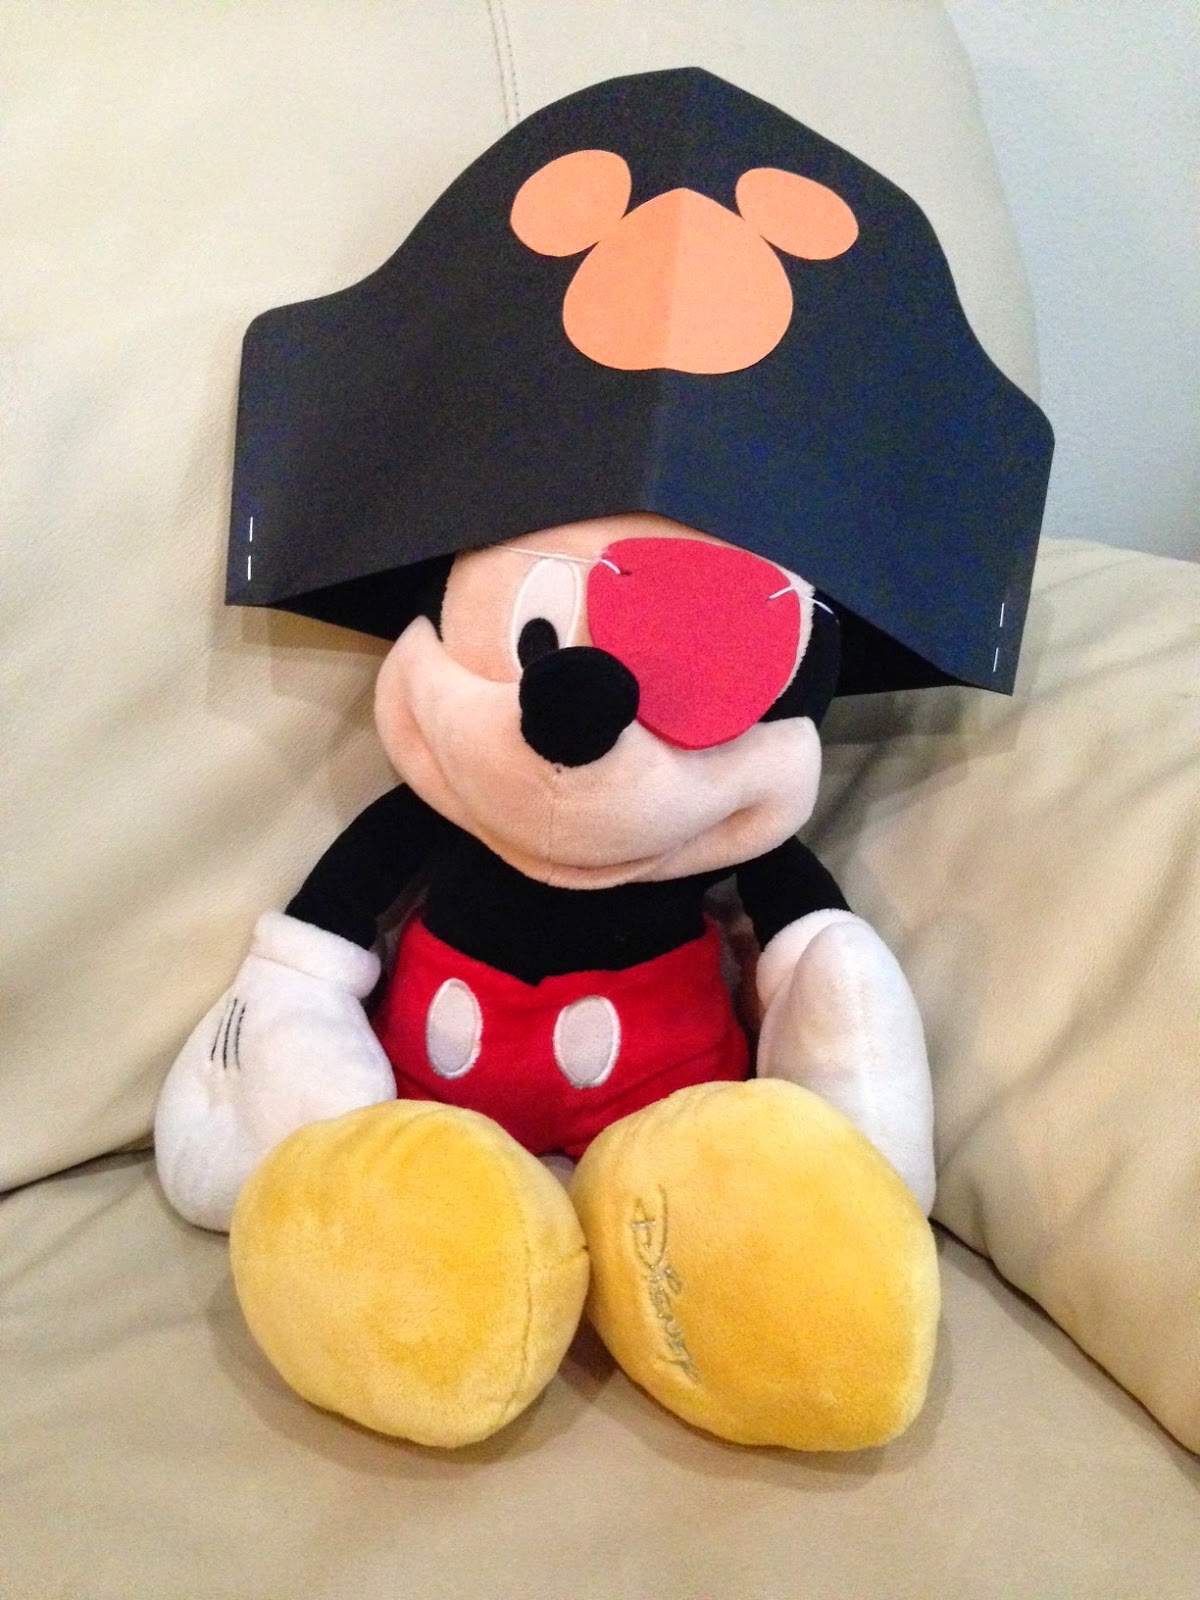
Pirate Hats and Eye Patches - for the kids to get in character.

For the hat, I used freehand drawing and made a template out of A4 paper.  I sealed the sides and the top and found that it did not fit my son's head.  I was wondering what size the paper should be for the hat to fit.  I made another trial one with 9x12 inch card stock, stapled the sides and left the top open - this made the hat one-size-fit-all for adults and kids alike.


Here is how I constructed it.  I took 9x12 inch card stock and folded 1 inch along the length.


I took 2 such sheets with folded edges facing outside and folded them in half lengthwise.


I placed the template on top for reference and cut out the curved shape.


I opened it up, stapled the sides at the bottom and left the rest open.


I cut out circles and glued them to the front of the hat to give it a Mickey Mouse touch.


And that's all there is to it!  I realized you could make hats like this for any theme with just a little imagination.


For the eye patch, again I used freehand drawing to create a template and cut out the shape from a foam sheet.  I made holes on the sides and threaded a 1 mm elastic chord through them and secured it with knots.


Here is how it looks!

Treasure Chests - for party favors.

Here is a find that I treasure:

http://www.hgtv.com/video/paper-treasure-box-video/index.html

I made treasure chests of smaller dimension and used rubber bands to keep the lids closed.


My son also wanted pirate ships, so I made Origami boats to serve as thank you notes.

http://www.origami-instructions.com/origami-boat.html


 The Party Room

I got balloons and serve ware in black, red with/without white polka dots to represent the theme.


Friday, July 04, 2014

Popsicle Easel And Origami Box

This has been due for over a year now.  There are two things I wanted to share from the last birthday party of my son's.

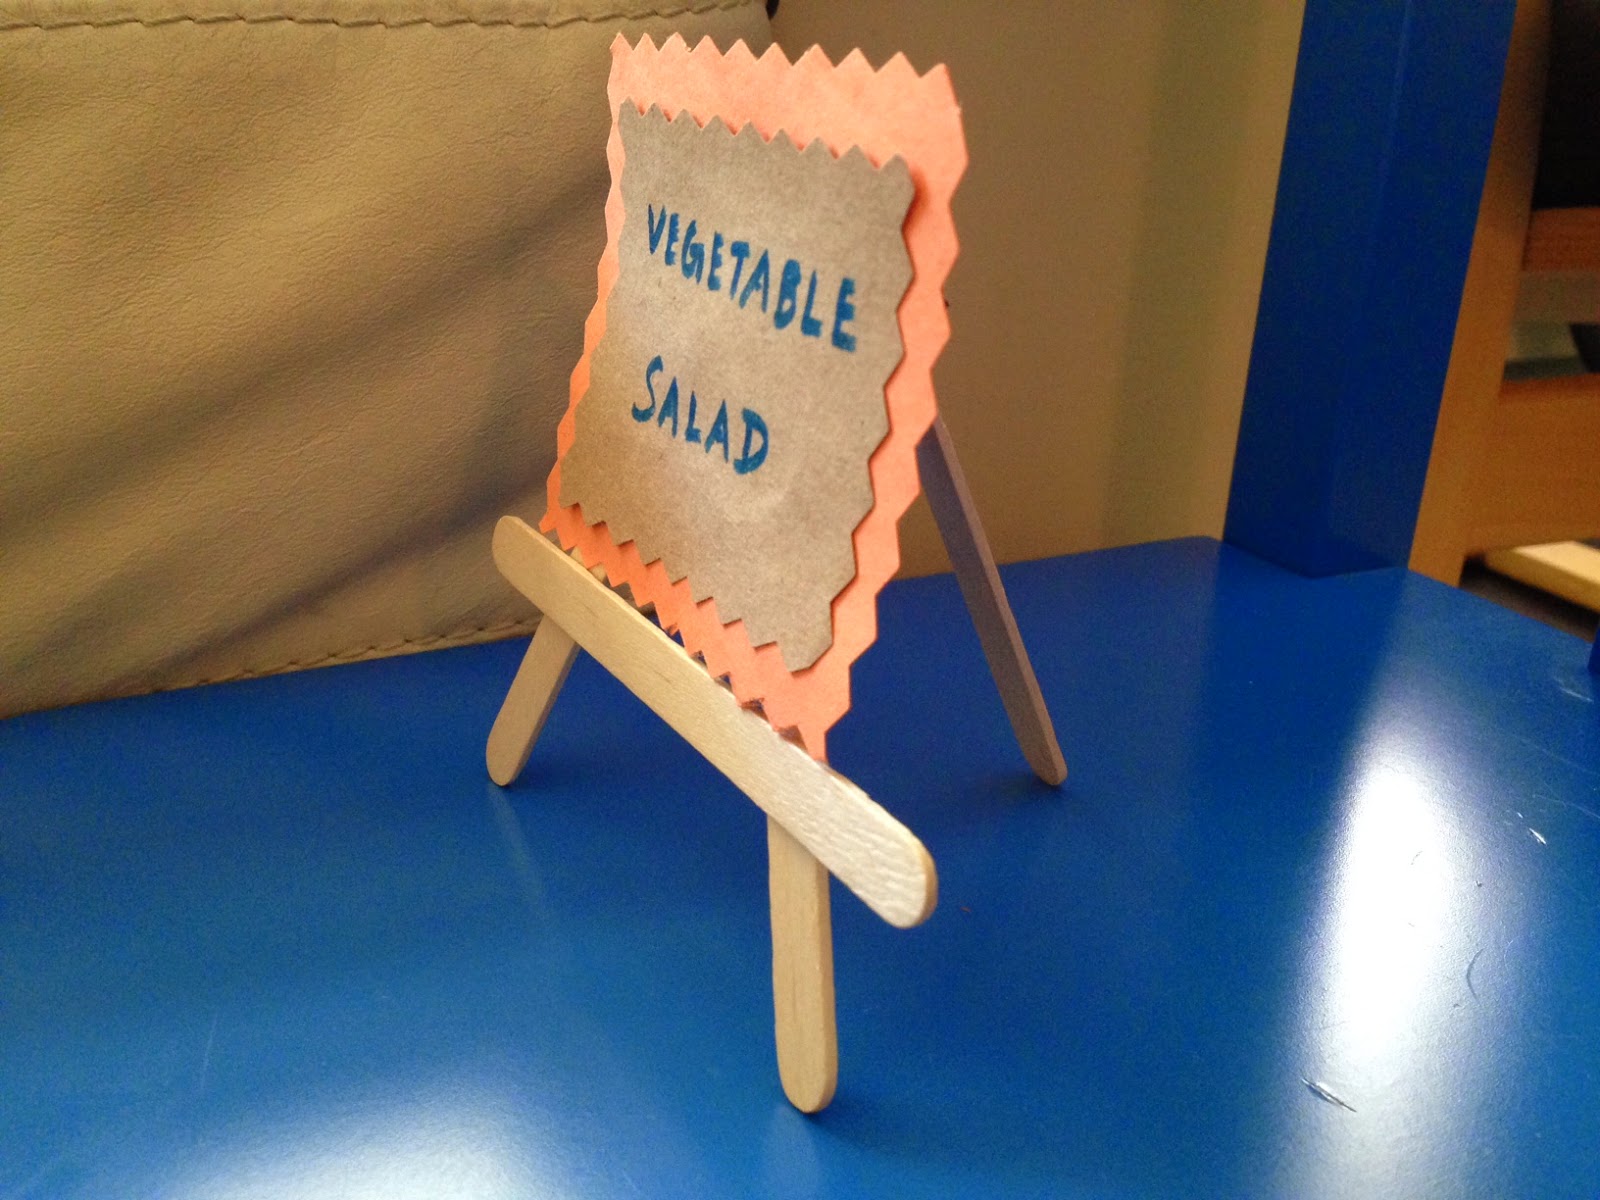
The theme of that party was Arts and Crafts, so when I was looking for ideas for DIY projects and came across easels made of popsicle sticks I got very excited.  I intended to make those to use as place card holders for the food items.  If you look it up, you will find many many links on how to make it.  It is pretty simple.  But what I had a problem with was gluing the stick that goes in the back to hold up the easel.  I was not enthusiastic about not being able to collapse the easel once it is built as it would be space consuming to store and also I feared it might get undone or break off of the front.

Thankfully, I found a video that gave a simple alternative that met my needs.  Unfortunately, I forgot to save the link to that video and I am unable to find it now though I have searched for it far and wide.  That is why I am hesitant to share a link to any other video as the credit must really belong to the actual video that I got this idea from.

But the pictures below should give you an idea how to do it:


The other link I wanted to share is this:

http://www.origami-instructions.com/origami-box.html

I made origami boxes to pack M&M as party favors for the kids.  I made the same to use as lids for the boxes and since I used paper to make them I was able to squeeze the box enough to get the lid on it.  But if you were to use stiffer material you might have to use squares a tad size bigger to make the lids for a better fit.


Thursday, August 15, 2013

Tortilla Wraps

We were all students then.  I remember, my friend, Smitha, and her husband had thrown a party in celebration of their first son's first birthday.  Smitha had planned a wonderful menu complete with starters and salad; she had cooked for about 40 people almost single-handedly.

Back in those days, I was an amateur cook, which means I could make rice and random concoctions of stews.   Needless to mention, I could not even have fathomed what it took to take care of a one year old.  I offered to help, and turned up at her place late in the morning on the day of the party, thinking it was all a day's work.

Now I realize the amount of work she must have done.  With a one year old around, any work that you would normally do in an hour would take two or more.  Cooking being a process that you cannot stop and restart anytime you have an interruption, it could become an endless task.

The party was a huge success.  Thanks to Smitha.  We had not had such tasty food in aeons, let alone Indian food.  I am not taking away credit from her husband and her friends who gave a hand; it is just that, their efforts were minuscule in comparison.

She has since been an inspiration in more ways than one and a role model to me.

I still remember the taste of the tortilla wraps she had made.  We had brought the leftovers home and we were hogging on the wraps all morning the next day.  Ten years later, I asked her for the recipe a week before my son's third birthday party and she promptly shared it with me.

Here is an adapted version:


Ingredients

5 tortillas (or chapathi)

Cheese Filling:

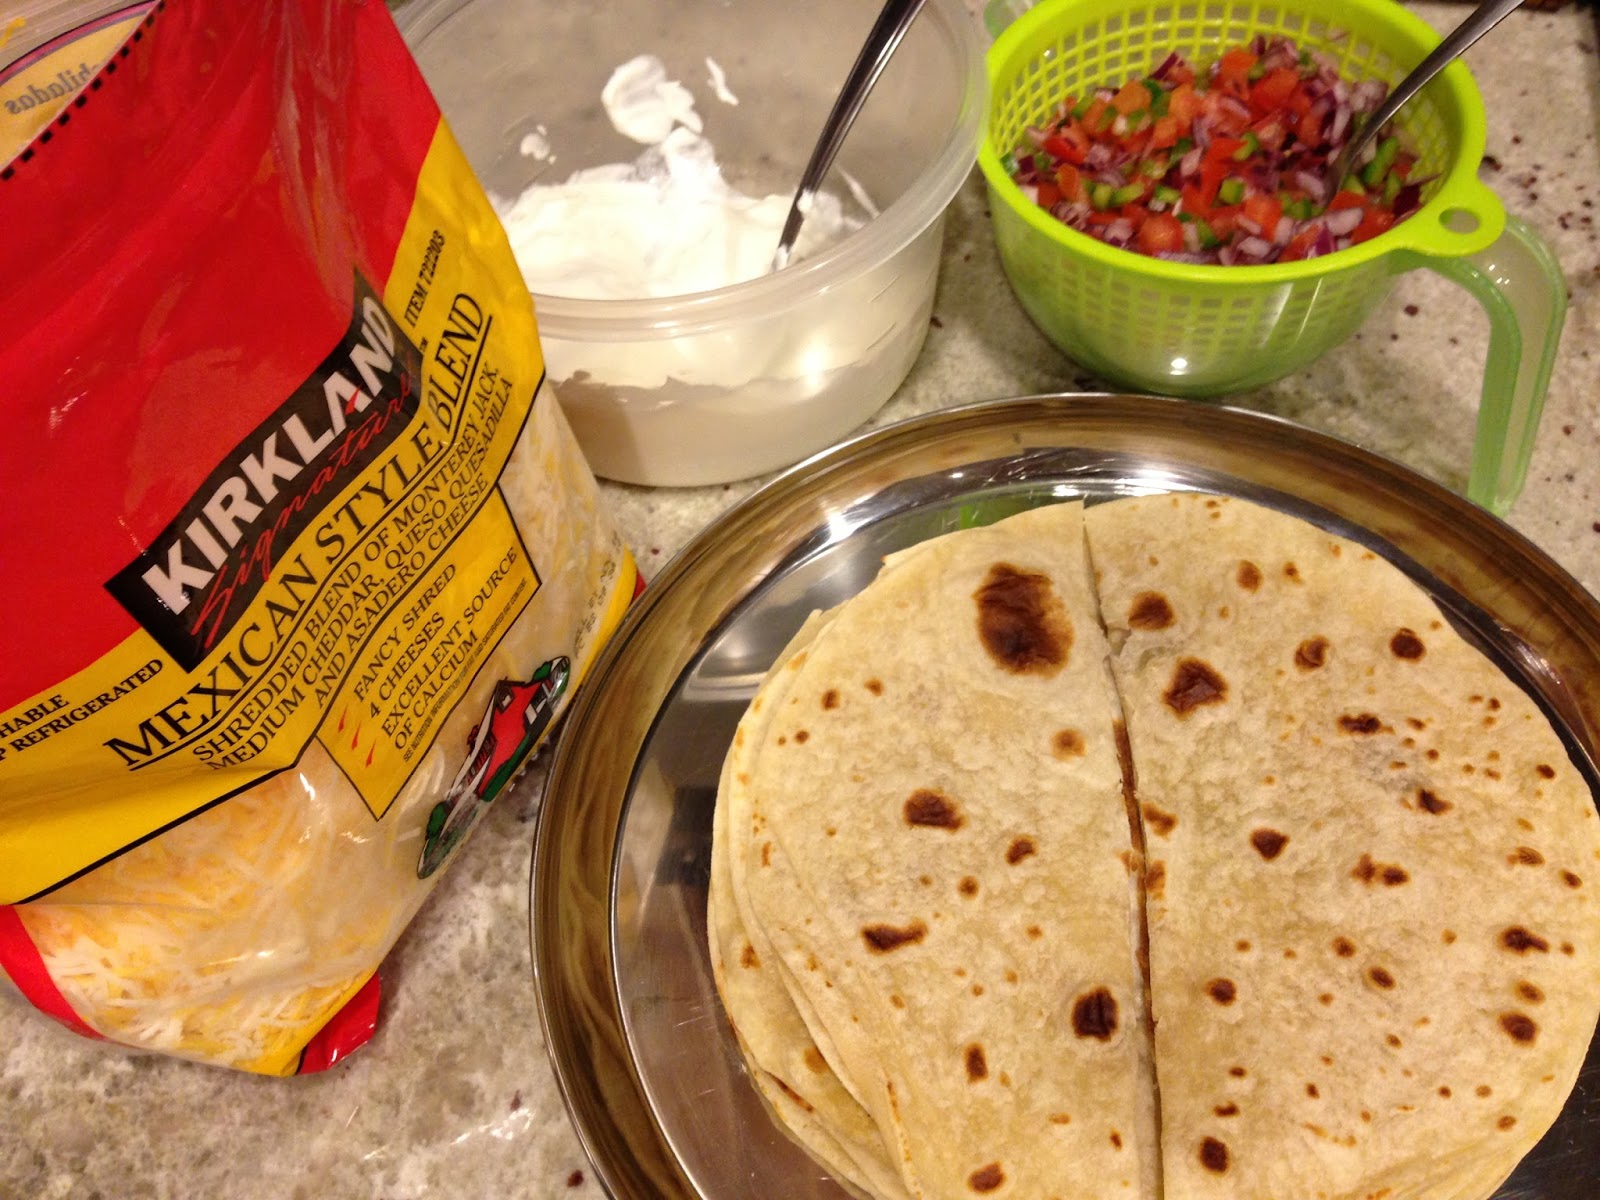
10 tbsp Mexican Cheese Blend (Monteray Jack, Cheddar, Queso Quesedilla, Asadero)

Filling:

1 tomato (cored and seeded)
1/2 green bell pepper
1/2 red onion
1 tsp lemon juice
1/4 tsp salt

Chop and toss above ingredients, and let it sit for 10 minutes.  Drain.


Spread:

1 tbsp cream cheese
3 tbsp sour cream

Mix above ingredients and stir until smooth.


Cook tortillas.  Spread cream cheese - sour cream mixture in a thin layer on each, spread the filling and the cheese mix.  Roll it up.  Or, cut each tortilla in half and make conical wraps.


Bake, covered with an aluminium foil, in the oven for 15 minutes at 350 F.

I got the idea of using sour cream and cream cheese mixture, to keep the tortillas soft and seal the wraps, from here:
http://www.grumpyshoneybunch.com/2012/12/fiesta-tortilla-roll-bites.html#axzz2W8CM5rFN

Sunday, June 30, 2013

Spicy Paneer Wraps

This is a recipe I came up with one fine evening.  I knew I had something very specific in mind.  Without giving it too much thought, I set out cooking - luckily I had all the ingredients I wanted - and just followed my instincts.  Very much like Remy in Ratatouille, if you will.  Voila, here is the result:


PANEER STUFFING

Ingredients

400 gms paneer - cut into small cubes
1 big onion
1 green capsicum (bell pepper)
2 tomatoes
1/2 tsp garlic paste
1/2 tsp ginger paste
1/2 tsp turmeric powder
1/2 tsp garam masala
1 1/2 tsp coriander powder
1 tsp chilli powder
1 1/2 tsp salt (or to taste)
2 tbsp chopped coriander leaves


Method

Heat a generous amount of oil in a  wide bottomed pan - to give you an idea, pour oil to coat the entire bottom of the pan.  On medium high heat, saute onion until it turns translucent, add ginger-garlic paste and fry till the raw smell dissipates.  Add capsicum, then tomatoes, masala powders and salt.  Cook on medium high heat.  Finally, add the paneer, toss well and cook for a few more minutes. Garnish with coriander leaves.

This has been quite a success.  The above quantity takes about 20 minutes flat from start to finish including preparation time.  Only the ginger-garlic paste needs to be cooked thoroughly, everything else can be a little raw - it gives a delicious crunch.  If you cook on low heat, it takes longer to make, comes out juicier, but equally delicious.


To make wraps:

Lay out a chapathi, spread a ladle full of the paneer stuffing along a line in the middle.  Fold the edges over or roll it up.


I am terrible at making chapathis, so I get Desi Roti from the Indian store.  I highly recommend it.

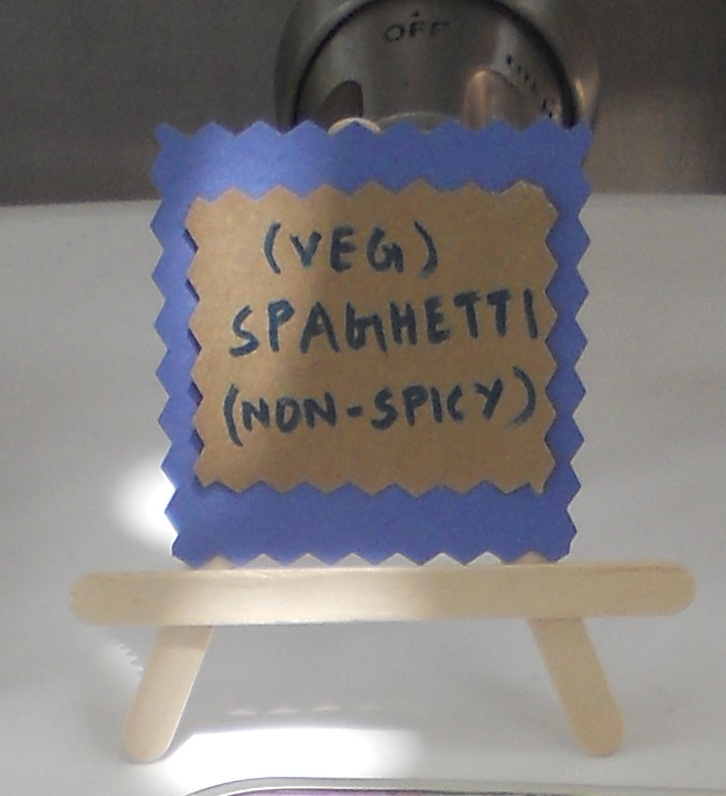
Non-spicy Vegetarian Spaghetti

This is one of my husband's biggest favorites.  My mother-in-law learnt to make this during their stay in Jeddah.  I do not know who this recipe originally belongs to, in order to give them due credit.  But since my mother-in-law is the source I got the recipe from, I give my thanks to her.

Here is my modified version:


SPAGHETTI

Ingredients

*  16 oz spaghetti
*  1/3 cup raw/dry kidney beans (or 2 cups of cooked/canned beans and/or vegetables)

*  3 tbsp vegetable oil
*  1 big onion
*  4 cloves garlic
*  1 capsicum/bell pepper

(for the red sauce)
*  8 tomatoes
*  1/4 cup tomato sauce or ketchup
*  2 tsp sugar
*  1 tsp salt

(for the white sauce)
*  1 tbsp butter
*  1 tbsp all purpose flour
*  1 1/2 cups milk
*  1/2 tsp salt
*  1/2 tsp pepper

(for the topping)
*  12 oz grated mozzarella

Method

(to cook spaghetti)
Bring 4 quarts of water to a boil, add 1 1/2 salt and 1 tsp olive oil.
Add 16 oz spaghetti and let it boil for 9 minutes.
Rinse in cold water, drain and keep aside.

(to cook kidney beans)
Immerse 1/3 cup kidney beans in water and let it soak overnight.
Pressure cook with 1 cup of water for 10 minutes or 5 whistles.

(to make tomato sauce)
Boil 8 tomatoes immersed in water for 10 minutes.
Cool and puree tomatoes.
Add tomato puree back in water along with 1/4 cup tomato sauce (or ketchup), 1 tsp salt, 2 tsp sugar.
Boil and simmer for 15-20 minutes.

(to make pasta)
Heat 3 tbsp olive oil, add chopped onion and garlic cloves.  Saute until onion turns translucent.  Add chopped capsicum, cooked kidney beans and 1 tsp salt (or according to taste).  Saute for 5 minutes.  Add tomato sauce, cooked spaghetti and cook for 10 minutes or until sauce thickens.  Turn off stove.

(to make white sauce)
Melt 1 tbsp butter, add 1 tbsp all-purpose flour and mix for 2 minutes on low flame until raw smell of flour dissipates.  Do not let flour brown.
Gradually add 1 1/2 cups milk while stirring constantly until mixture becomes smooth.
Add 1/2 tsp salt and 1/2 tsp pepper.
Turn heat to medium, stir constantly, bring mixture to a slow boil and take it off the stove when sauce begins to thicken.

(to assemble)
In an oven safe oblong pan, spread out the pasta evenly.  With the back of a spoon, make holes here and there.  Pour the white sauce into these holes, the sides and all over the pasta.  Spread the mozzarella on top, covering the entire dish.  Garnish with ketchup.


Bake in the oven at 350 F for 15 minutes or until the cheese melts and begins to bubble.

Saturday, June 29, 2013

Lemonade

To make lemonade, just mix the following and refrigerate:

*  Sugar syrup - dissolve 2 cups sugar in 1 cup water and bring it to a boil
*  13 cups water
*  2 cups lemon juice
*  1/2 tsp salt
Lemonade


Modified from the following recipes:
");